O Talento Vale Mais Que o Saldo: A Revolução do Futebol Web3 Chegou.
A Nostalgia que Você Sentia Falta, Agora com Valor Real
Esqueça o “pay-to-win”. O SCG resgata a física exata do lendário PES 6, onde cada gol depende 100% de você. Aqui, não existe fator sorte: sua precisão manual é a única moeda que importa para vencer competições valendo prêmios reais.
Economia que Premia Quem Joga
Cada partida alimenta automaticamente os fundos de premiação mensal e anual. Quanto mais a comunidade joga, maiores ficam os prêmios para os melhores talentos. Um ciclo sustentável desenhado para recompensar sua maestria, não a sorte de um dia.
Entre Agora Antes Que o Preço Suba
Esta é sua chance fundadora. No Tier 1, o SCG custa apenas US$ 0,003, com projeção de lançamento em US$ 0,03. Garanta até 10x de potencial entrando no nível mais baixo possível. Quando esta etapa fechar, o preço sobe definitivamente.
Estrutura Blindada e Transparente
Contrato renunciado, auditoria pública na BSC e tecnologia anti-cheat de ponta. Não vendemos promessas, entregamos um ecossistema pronto para durar. O código é aberto, as regras são claras e o próximo campeão pode ser você.
As barras de progresso dos Tiers serão atualizadas manualmente (caso tenha mudança) aos domingos, com base nas aquisições registradas no sistema.
TOKPIE...
Aceitamos pagamentos com cartão de crédito
Visa e Mastercard são bandeiras de cartão de crédito aceitas em todo o mundo. No Brasil, são duas das mais populares.

Aceitamos pagamentos com seu Apple Pay
O Apple Pay é um sistema de pagamento sem contato e carteira digital desenvolvido pela Apple Inc. que permite aos usuários fazer pagamentos usando dispositivos Apple.
JOGOS EM TODOS OS SISTEMAS | PRÉ-LISTAGEM
POR QUE ISTO É IMPORTANTE?
PWA
- CUSTO POR PARTIDA
Por que investir na Stamina Coin Game (SCG)?
Inovação, segurança e rentabilidade. Mais do que jogos, construiremos um ecossistema em expansão com múltiplas fontes de geração de valor e potencial de apreciação de ativos.
CAMPEONATO MUNDIAL MENSAL e ANUAL
DIRETO NA SUA CARTEIRA
DIVULGAÇÃO ORGÂNICA
NA PRÉ-VENDA
GOVERNANÇA
TOKENS SEUS
ANTI FRAUDE
BLOQUEADA POR ANOS
INFLUENCIADORES
VISÃO
TRANSPARÊNCIA
PARA TODOS
CONTRATO RENUNCIADO
RENÚNCIA TOTAL
LIQUIDEZ
PRÉ-VENDA
'The Best Win' será o líder de nicho

PROTÓTIPO - A IDEIA FUNCIONA!
Especificação Técnica do Ecossistema
A arquitetura garante:
- Baixa latência (essencial para jogos)
- Alta segurança (dados críticos protegidos)
- Custo sustentável (sem over-engineering)
- Compatibilidade total com PWA e Unity URP
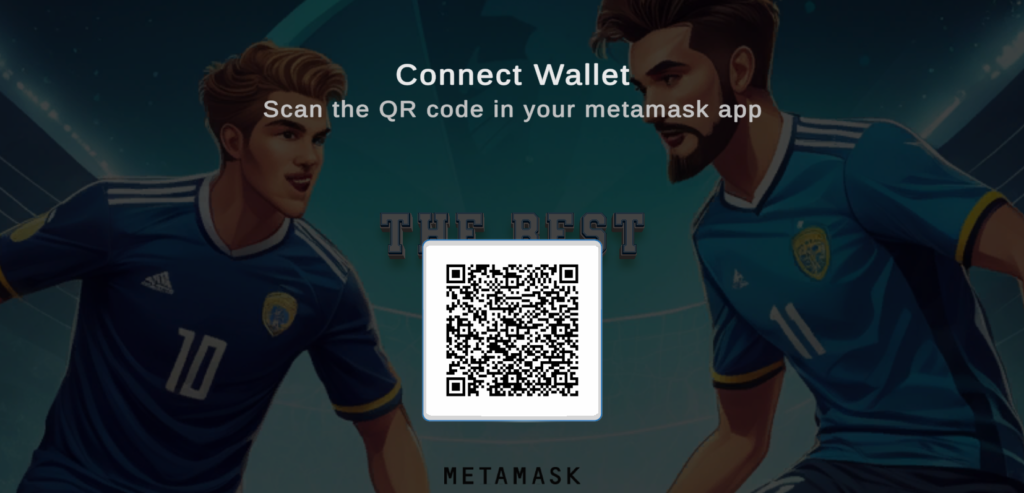
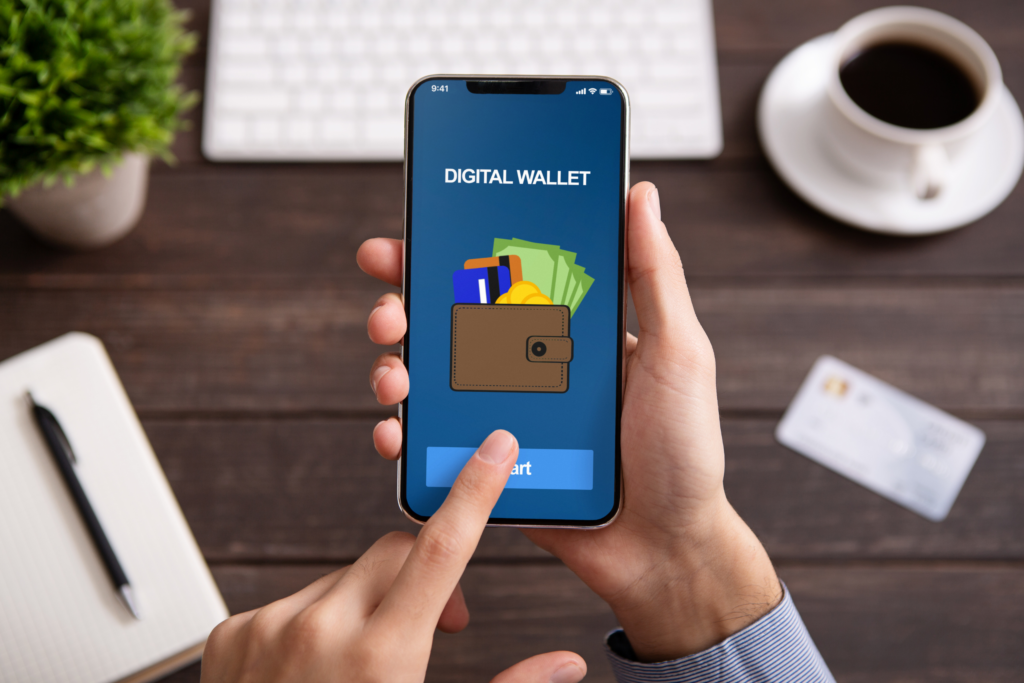
A carteira interna do SCG é gratuita, sem taxas ocultas e 100% focada na experiência do jogador. Tudo acontece nos bastidores, de forma segura. Para negociar SCG por outras moedas, você utiliza sua Metamask e vai para a Tokpie — como em qualquer projeto Web3 sério.
Os idealizadores não ganham quando você joga com SCG — nem quando você adquire em CEX ou saca do ecossistema.
Transparência total. Liberdade total.
Estamos avançando e não vamos parar
O QUE SERÁ NECESSÁRIO?
lISTADA
Tokpie já é realidade. CoinMarketCap e CoinGecko são os próximos. Binance e Coinbase são horizontes. Cada negociação honesta, cada voto diário, cada stake responsável e cada partida jogada aproxima o SCG desses marcos.
BREVE: BINANCE
Demonstrar tração sustentada: Volume diário consistente acima de US$ 100 mil, crescimento orgânico de holders e preço estável são métricas que a Binance monitora antes de considerar novos projetos.
EM BREVE: CMC
Gerar volume de negociação diária acima de US$ 50k. Fortalecer presença digital: Sigam, curtam e compartilhem os canais oficiais. Submissão bem estruturada e engajamento orgânico.
BREVE: COINBASE
Comprovar adoção real: A Coinbase prioriza tokens com casos de uso concretos. Disputar, fazer staking com participação ativa e usar a carteira interna são ações que demonstram utilidade do SCG.
EM BREVE: CG
Construir utilidade real: Joguem, acumulem XP, participem dos torneios. O CoinGecko valoriza projetos com produto funcional e usuários ativos, não apenas especulação.
FAQ
DÚVIDAS
O QUE É ESSE VALOR ~US$ 0,21?
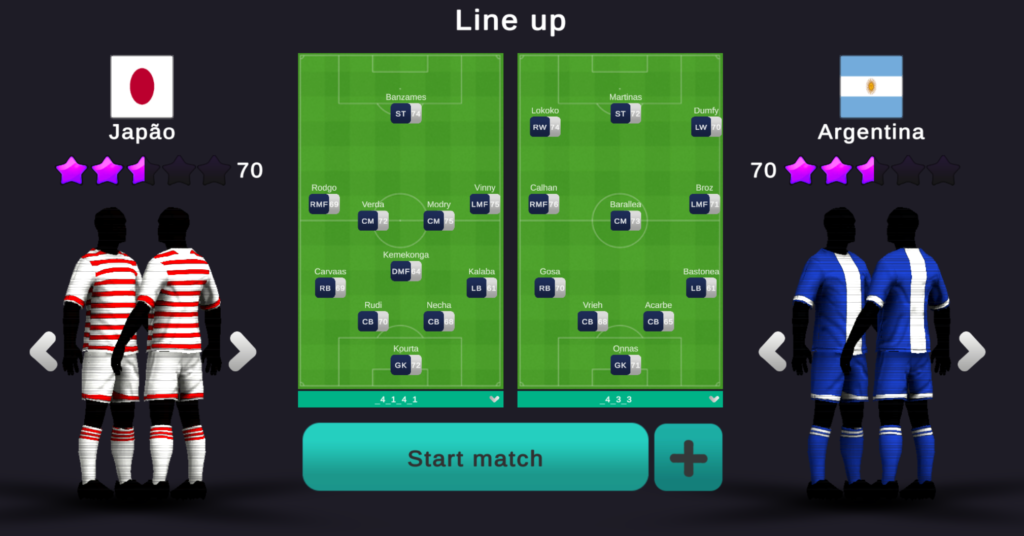
COMO AS PARTIDAS FUNCIONAM?
A SCG SERÁ LISTADA ALÉM DA TOKPIE?
Expansão Imediata
Visibilidade Global: Estamos em processo de listagem nos principais agregadores CoinMarketCap e CoinGecko. Esta etapa valida a SCG como ativo maduro, oferecendo transparência, dados em tempo real e maior alcance para investidores globais.
Fase Avançada (Binance e Coinbase)
Como objetivo estratégico de longo prazo, preparamos a SCG para os rigorosos critérios das maiores exchanges do mundo:
- Binance: Foco em conformidade regulatória, auditorias de segurança, tokenomics com utilidade real, liquidez orgânica e comunidade engajada.
- Coinbase: Ênfase em clareza regulatória (normas EUA), viabilidade técnica (padrões BEP-20/ERC-20), demanda de mercado sustentável e governança transparente.
Nosso Compromisso
A SCG não busca atalhos. Cada etapa é construída sobre segurança, transparência e valor real. Enquanto trabalhamos para atender aos padrões das grandes exchanges, nossa presença na Tokpie combinada com os agregadores já oferece um ambiente seguro e em crescimento para nossos detentores.
HAVERÁ O QUE NO JOGO, EXATAMENTE?
O que buscamos para o nosso ecossistema é uma carteira integrada própria, eliminando a necessidade de dependência de extensões externas como Metamask, o que simplifica a experiência do usuário e centraliza a segurança dos ativos. Estaremos sempre buscando o melhor para o projeto.
COMO FUNCIONARÁ A AQUISIÇÃO DOS TOKENS?
Ordem de Lançamento dos Tiers
- Todas as fases de aquisição (Tiers 1, 2, 3 e 4) ocorrerão exclusivamente no site oficial do projeto, garantindo centralização, segurança e transparência em todo o processo de distribuição inicial.
- Tier 1: Disponível ao preço de US$ 0,003 por SCG.
- Tier 2: Disponível ao preço de US$ 0,005 por SCG.
- Tier 3: Disponível ao preço de US$ 0,01 por SCG.
- Tier 4: Disponível ao preço de US$ 0,02 por SCG.
- Distribuição de Tokens: O envio dos tokens será realizado automaticamente aos detentores via compra direta em cada fase.
OS PAGAMENTOS DA EQUIPE DE MANUTENÇÃO VEM DE ONDE?
Os campeonatos mensais e anuais serão transmitidos e editados, exclusivamente por um dos idealizadores no canal oficial do SCG. A receita virá diretamente da plataforma através de:
- Views (pagamento por cada mil visualizações);
- Superchats durante as transmissões ao vivo;
- Vendas de produtos oficiais;
- Assinaturas do canal;
- Shorts com monetização;
- Propagandas exibidas nos vídeos.
Cada um dos 4 idealizadores do projeto receberá 1% sobre o volume total de compras e vendas realizadas nas corretoras descentralizadas (DEXs) que listarem o SCG.
- Total: 4% do volume negociado.
- Essa taxa é uma das menores do mercado Web3 — a maioria dos projetos cobra entre 5% e 10%.
- A cobrança ocorre automaticamente via smart contract, sem interferência manual.
- Todas as aquisições oriundas da loja, vão para os idealizadores. Essas aquisições podem ser remanejadas, para outras áreas que o projeto necessite.
3. Pagamento das Equipes Parceiras
Todas as equipes terceirizadas (desenvolvedores, designers, e etc) serão remuneradas exclusivamente com os recursos arrecadados durante os Tiers 1 a 4.
- Nenhum custo extra será cobrado após o lançamento.
- O orçamento foi planejado para cobrir 100% do desenvolvimento com os tiers iniciais.
4. Cliff e Vesting
6% do Supply será revertido para os criadores do projeto, onde haverá 24 meses de carência (Cliff) e só então terá o recebimento de 120 meses em doses homeopáticas (Vesting).
QUEREMOS ATINGIR ESSES NÚMEROS
COM A SUA AJUDA, CONSTRUIREMOS UMA GRANDE COMUNIDADE: SÓLIDA, ROBUSTA E SIGNIFICATIVA.
© All Rights Reserved - Stamina Coin Game (SCG).